Then, how far the difference is, comparing the original picture with the edited picture?
So, here is it..
Note: I'm using Photoshop CS2.
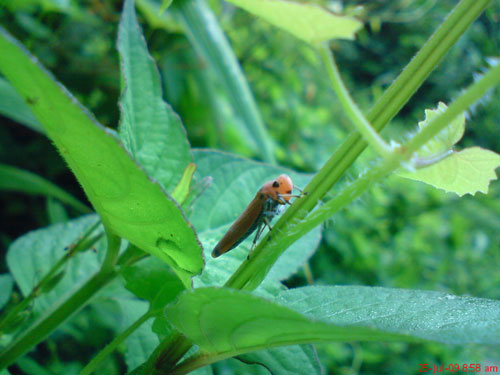
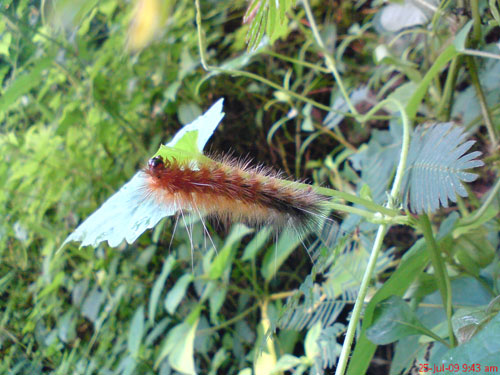
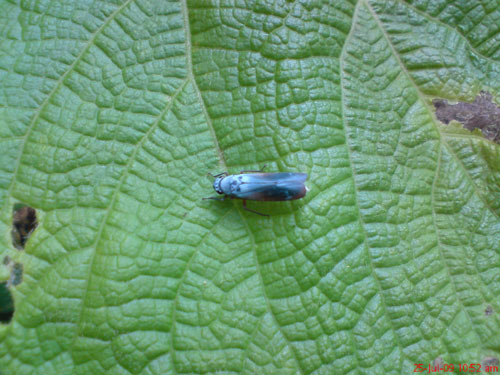
The first picture, you can compare the original picture with the edited version..
Basically, what I normally do is:-
- Resize the picture
- Image > Adjustments > Auto Levels
- Image > Adjustments > Auto Contrast
- Image > Adjustments > Auto Colour
- Add some wording with some nice fonts..
Done~
But some picture require extra editing such as Crop..
And I also will rotate the images...if require.
Beside Crop, what I like is,
cover the un-necessary part with white rectangular,
so the picture is more focus to the subject.
Some picture are blurred, so a little Sharpen Tool is needed.
- Filter > Sharpen > Sharpen
- Filter > Sharpen > Sharpen More (*sometime i dun like this, because it create many noise in the picture)
One important adjustment:
- Filter > Sharpen > Unsharp Mask
Note: Do it when you resize any picture... it will make squeezed picture looks clearer.. of course, you can skip this process, if you are okay with the resize picture quality.
And then, if you dun like the imperfect picture, you can always cover the the imperfect,
by applying different Filter Effect such as Dry Brush, Crosshatch, Angled Stroked and etc.
- Filter > Filter Gallery
This filter gallery is very useful and nice to play with.
Then if you dun like the colour of the picture, you can always adjust the Hue/Saturation and the Levels(Histogram) of the picture
- Image > Adjustments > Levels
- Image > Adjustments > Hue/Saturation
- Image > Adjustments > Shadow/Highlight
- Image > Adjustments > Exposure
If the date and time spoiled the picture, you can always erase it.
- Spot Healing Brush Tools
- Healing Brush Tools
Most important is trial and error,
So that you can keep learning new things,
Explore new ideas,
And create a great picture~
Hope this can help you a little,
I'm just learning it by myself,
If I got anything left out, mistake or wrong,
I'd happy to listen from you all ^.^
No comments:
Post a Comment